This step-by-step guide shows how to make your site logo clickable and point it to the home page. Follow the numbered steps below and add screenshots where noted.
Steps
Open the page containing your logo.
Open the project and navigate to the page where the logo appears (for example, a Features page), then enter the page editor.Select the logo element.
Hover over the logo and click Edit (or the element settings icon) to open its properties panel.Locate the link settings.
In the logo's settings panel, find the Link To field or link option.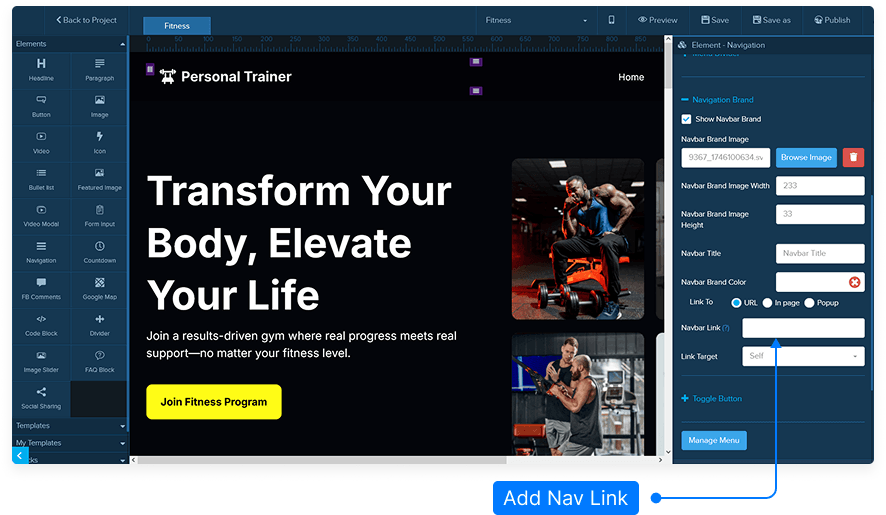
Copy the home page URL.
Open the published version of your site (or the published Home page). If your navigation already links to Home, click the Home link and copy the URL from the browser address bar.Paste the URL into the Link To field.
Paste the copied Home page URL into the logo's Link To field.Choose how the link opens.
Select the target option:Self — opens the Home page in the same tab (recommended for standard navigation).
Blank — opens the Home page in a new browser tab (useful if you want to keep the current page open).
Save the element settings.
Click Save in the logo element settings to apply the link.Republish the page (if published).
If the page is already published, republish it so the change goes live. Confirm the publish/republish success message.Test the link.
Visit the live site and click the logo to verify it navigates to the Home page as expected.
Notes & Tips
If your project uses relative URLs, you may be able to select the Home page from an internal link dropdown instead of pasting the full URL.
Choose Self for the most common navigation behaviour (keeps users in the same tab).
Always republish and test on the live site after making navigation changes.