This tutorial explains how to customize or create a social sharing element on your page. You can use preset icons or create your own social sharing section from scratch.
Step 1: Add or Select a Social Sharing Element
If your template already includes a social sharing section, you can simply edit it.
To add a new one:
Go to the Elements menu on the left.
Find and select Social Sharing.
Drag it onto your page where you see the yellow placement bar.
Step 2: Access the Editing Options
Hover over the social sharing element on your page.
Click the Edit button in the green menu.
This will open the Inspector Panel with all customization settings.
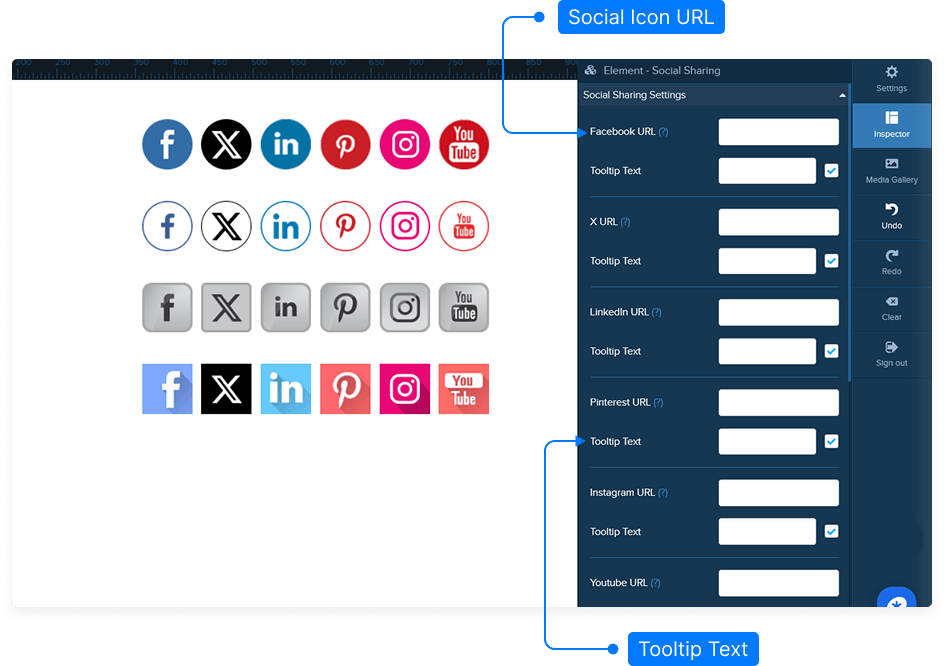
Step 3: Configure Social Media Links
In the Social Sharing Settings section, enter the URLs for your social profiles:
Facebook
Twitter
Google+
LinkedIn
Pinterest
Add optional Help Text — this will appear when someone hovers over an icon.
Toggle each icon’s visibility on or off as needed.
Step 4: Adjust Link Behavior
Scroll down to the Link Target settings.
Select how you want links to open:
Self – open in the same tab
New Page – open in a new tab
Right Parent or Top – open in specific frame targets
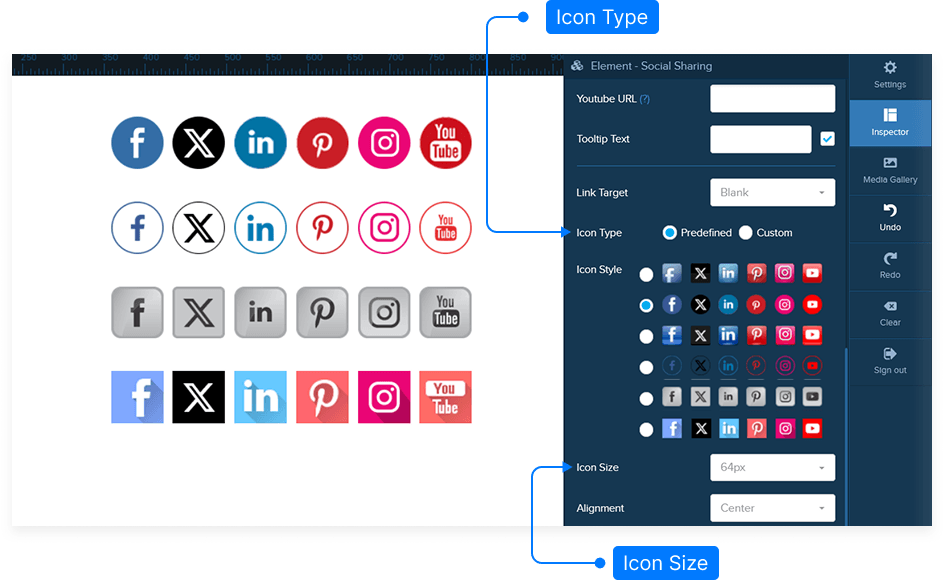
Step 5: Customize the Icon Design
Choose from preset Icon Styles or upload your own custom icons.
To use custom icons:
Select Upload.
Choose an image from your Image Gallery.
Adjust the Icon Size using the size slider.
Set the Alignment — left, center, or right.
Step 6: Refine Layout and Display Options
Add Margin to create space around the element if needed.
Use the Custom CSS field to add your own styling code.
Choose the element’s visibility:
Display on Desktop
Display on Mobile
Or show on Both
Step 7: Preview and Test
Click Preview to see how your social sharing icons appear on the live page.
Hover over an icon to check if the help text displays correctly.
Click an icon to test the link behavior — for example, opening your Facebook page in a new tab.
Step 8: Save Your Changes
Once you’re satisfied with your design and functionality, click Save to apply your changes.
And that’s it! You’ve successfully customized your social sharing element with functional links, icons, and design settings.