This tutorial will guide you through customizing a headline element — including formatting the text, changing colors, adjusting fonts, and adding a hyperlink.
Step 1: Access the Headline Element
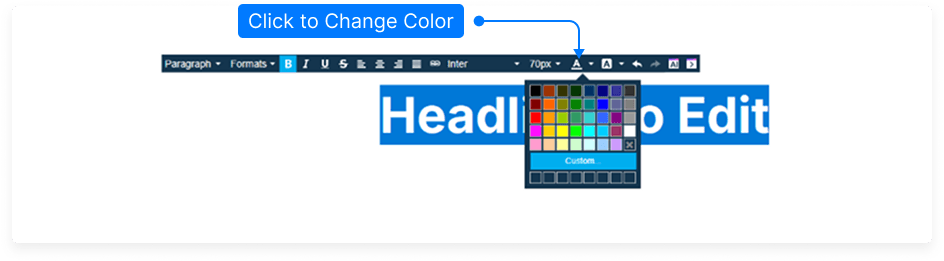
Step 2: Change the Text Color
Hover over the entire text and click the small triangle icon to open the color options.
Select a color from the palette or choose Custom to enter your own color code.
Click OK to apply the color.
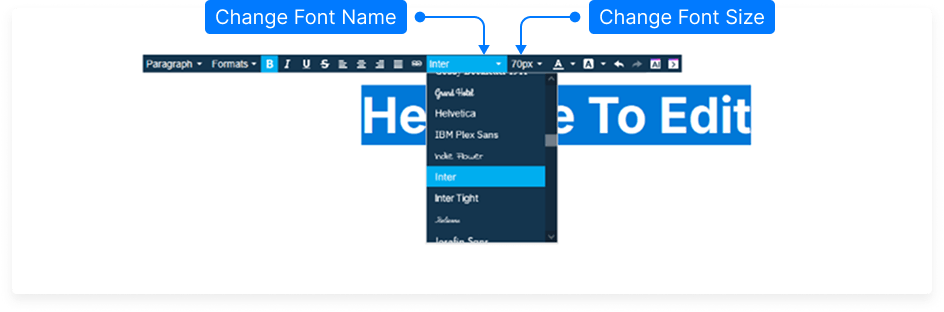
Step 3: Adjust Font and Size
Click the headline text to select it.
Use the font size dropdown to choose the desired headline size.
Select your preferred font family from the available list.
Step 4: Format the Text Style
Make the text bold, italic, underlined, or use
strikethrough.Align your text to the left, center, or right.
Optionally, set the text to justified alignment for evenly spaced text.
Step 5: Insert a Hyperlink
Hover over the text again and click the link icon from the toolbar.
Fill in the following fields:
URL: Enter the web address you want the text to link to.
Display Text: Confirm the text that will appear as the hyperlink.
Title: Optionally, add a title for the link.
Target: Choose whether the link opens in the same page or in a new window/tab.
Click OK to save your link.
Step 6: Save and Preview
Click Save to save your project changes.
Preview your page to test the hyperlink and headline appearance.
When clicked, your linked text should redirect to the page you specified (e.g., Wikipedia).
And that’s it! You’ve successfully customized your headline, adjusted its style, and added a working hyperlink.