Follow these steps to add and customize a featured image element on your page:
Add a Featured Image Element
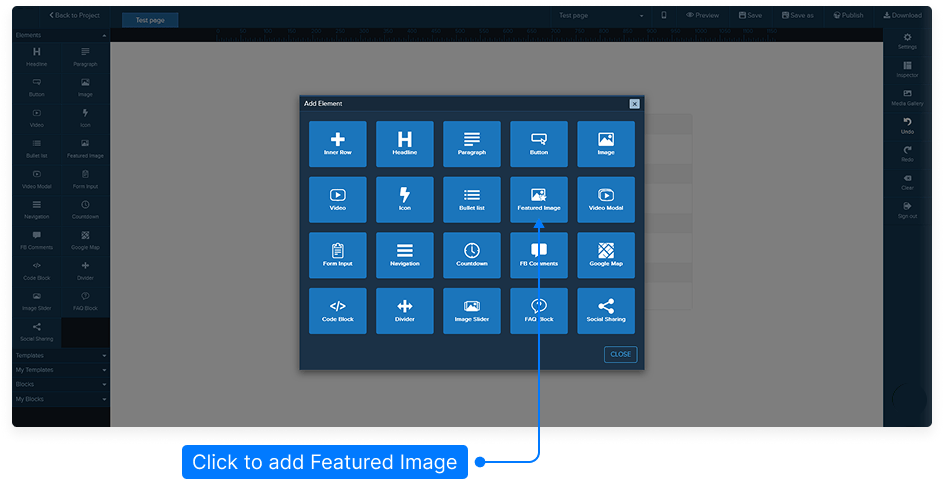
You can add a featured image in one of two ways:From the Elements panel, select Featured Image and drag it to the area where you see the yellow bar, then release it to place the element.
Hover over the element above where you want to place the featured image, click Add Element, and select Featured Image from the list.
Edit the Featured Image
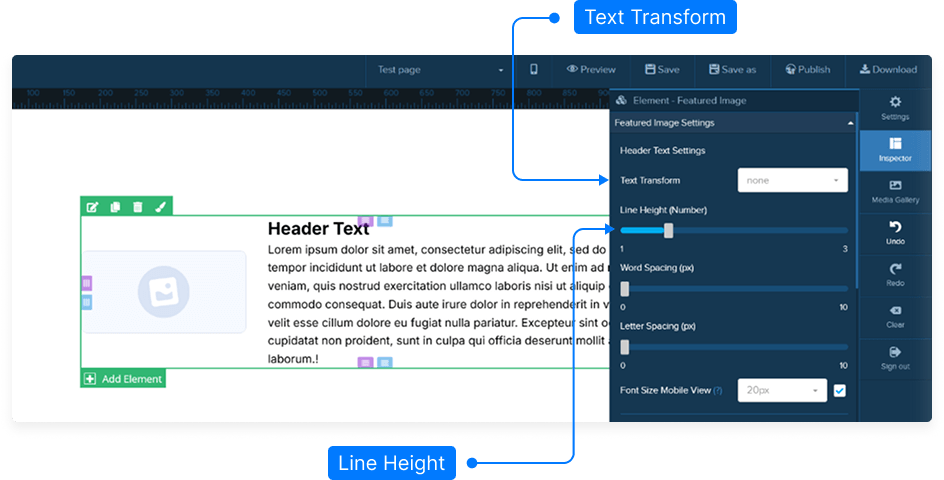
Hover over the featured image block and click the Edit button on the green menu to open the inspector panel with all customization options.Adjust Header Text Settings
In the Featured Image Settings section, configure the header text options:Set text case: Capitalized, Uppercase, Lowercase, Initial, or Inherit.
Adjust line height, word spacing, and letter spacing.
Optionally, toggle the mobile font size switch to set a different font size for mobile devices.
Customize Description Text
Similar to the header text, you can modify:Text case (capitalized, uppercase, lowercase, etc.).
Line height, word spacing, and letter spacing.
Font size for desktop and mobile separately.
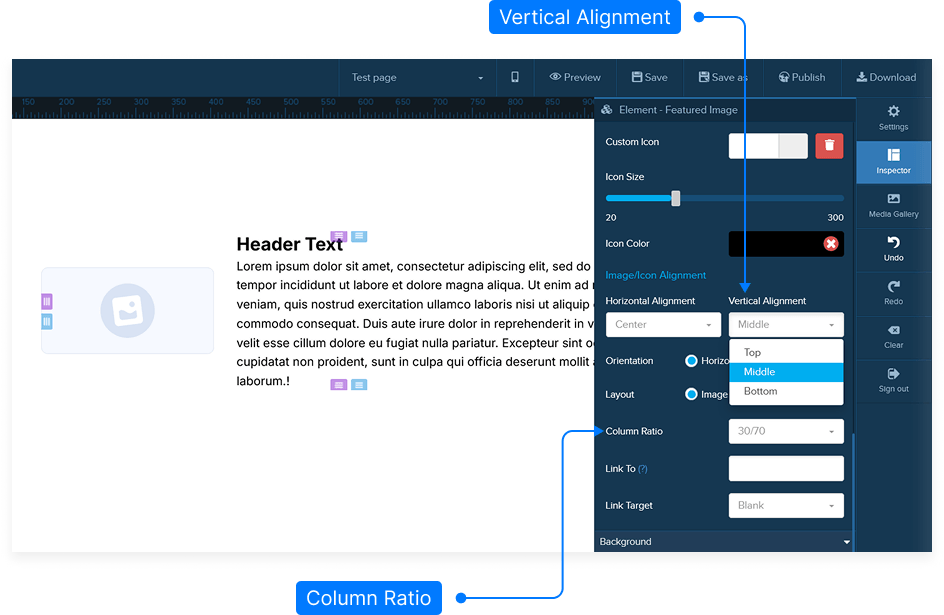
Control Layout and Alignment
Set the headline position: Top, Middle, or Bottom.
Adjust the spacing between the text and the image.
Select the image alignment and layout (horizontal or vertical).
Adjust the column ratio, e.g., 50-50 for equal spacing between image and text.
Customize Image Settings
Click Select Image to choose your featured image.
Set the image width and height or leave them blank for original proportions.
Add an Alt Tag for SEO purposes.
Optionally, replace the image with an icon and choose the icon color and alignment (left, center, right, top, middle, bottom).
Set Link Options
You can make the image or text link to another page or URL:Enter the target link.
Choose how it opens: New Tab, Same Page, Parent Frame, or Top Frame.
Adjust Spacing and Borders
Add Padding inside the featured image block.
Set Margins to control outer spacing.
Choose Rounded Corners by increasing the border radius, or keep sharp corners by setting it to zero.
Enable and color the Border.
Add a Shadow effect by customizing horizontal and vertical shadows, shadow radius, and shadow color.
Advanced Settings
Add Custom CSS for more precise design control.
Set the block’s Visibility to appear on Desktop, Mobile, or Both.
Save and Preview
When finished:Click Save to store your changes.
Preview your page to ensure your featured image appears as intended.
Tip: Keeping font sizes and spacing consistent across desktop and mobile ensures your featured image looks great on all devices.