In this tutorial, you'll learn how to create and customize a background gradient for a section on your page. A background gradient allows you to blend two or more colors seamlessly to create a visually appealing background effect.
Step 1: Select the Section to Edit
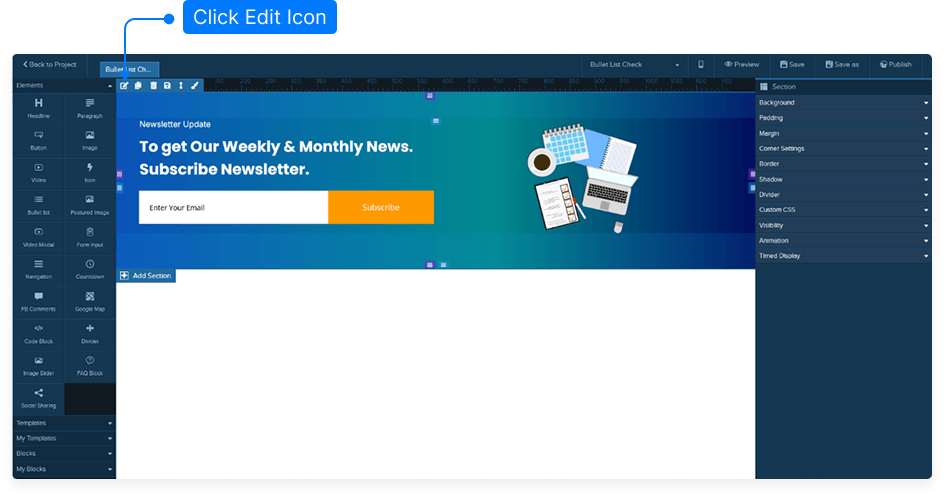
Open your page in the editor.
Scroll to the section where you want to apply the background gradient.
Hover over the section until the dark blue menu appears.
Click Edit to open the Inspector panel.
Step 2: Choose a Gradient Preset
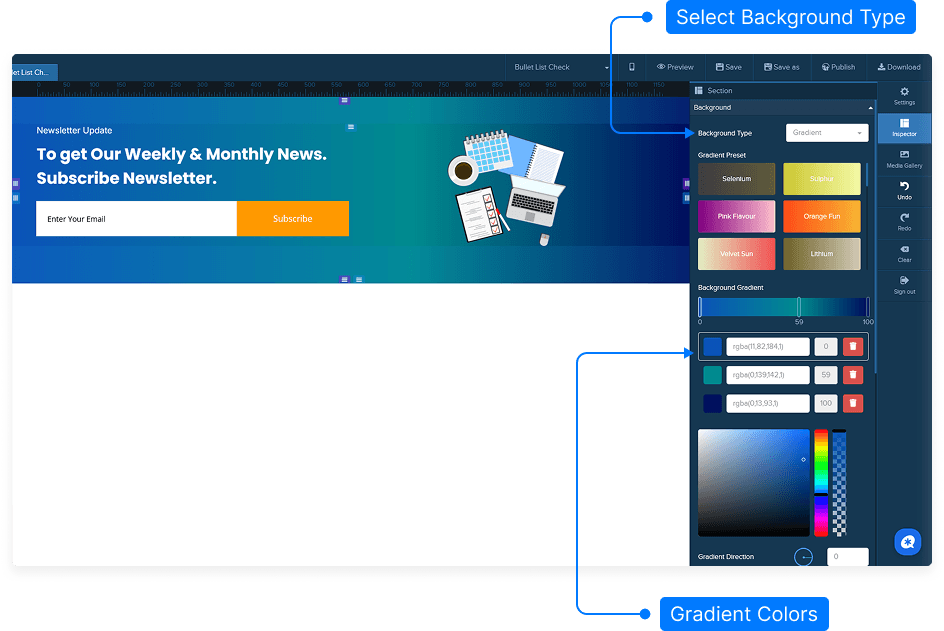
In the Inspector panel, scroll down to find the Gradient Presets section.
Browse through the available gradient options.
Click on a preset to instantly apply it to your selected section.
Step 3: Customize Your Gradient Colors
To create your own gradient, select Custom Colors instead of a preset.
Click on each color box to open the color picker.
Choose your starting color (left side) and ending color (right side).
Watch as the section updates in real-time with your chosen colors.
Step 4: Adjust Gradient Direction
Locate the Gradient Direction option in the Inspector.
Use the slider or dropdown to adjust the angle of the gradient.
Experiment with directions like horizontal, vertical, or diagonal to find your preferred look.
Step 5: Preview and Save
Once satisfied with your gradient, click Preview to see how it looks on your page.
If everything looks good, click Save to apply the changes permanently.
And that’s it! You’ve successfully created a beautiful background gradient for your page section. Experiment with different colors and directions to find the perfect look for your design.