In this tutorial, you’ll learn how to add multiple elements to your page and how to use the left-hand side menu to manage and insert them easily.
Step-by-Step Guide
Create your base layout:
Start by creating a column where you’ll place your elements.
Access element options:
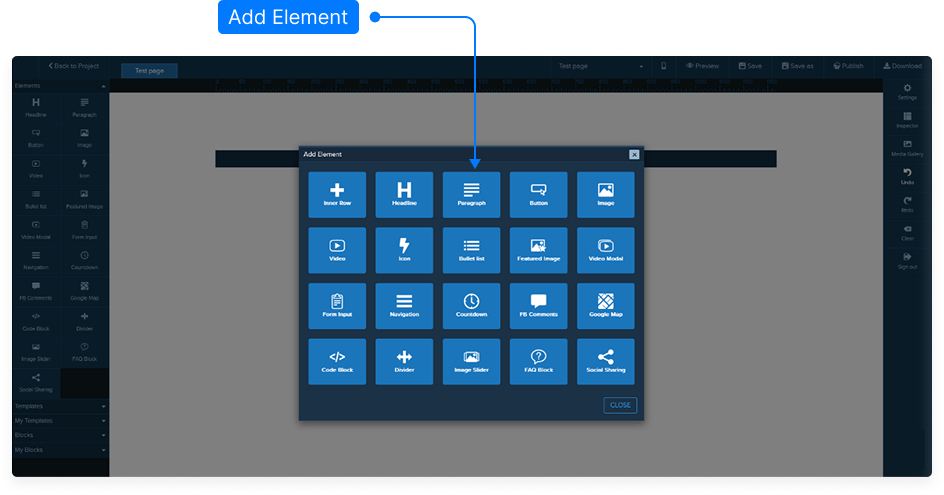
You can add elements in two ways:
By hovering over the Settings icon within your design area and selecting Add Element.
By using the Left-hand side menu where all available elements are listed.
Add your first element:
Click and hold the element you want from the left-hand menu.
Drag it into your column until you see a yellow bar appear.
Release your mouse button — the element will now be placed inside the row.
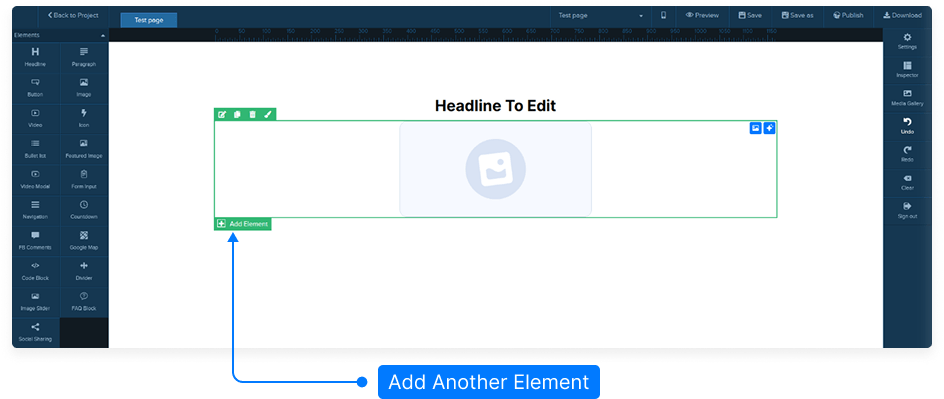
Add additional elements:
Hover over the green Add Element area within your design.
Repeat the process by either:
Selecting an element from the green menu, or
Dragging another element from the left-hand side menu into your layout.
Once the yellow bar appears, drop the element to place it in your desired position.
Finalize your layout:
Continue adding as many elements as needed using the same method.
Ensure proper spacing and alignment between elements for a clean layout.
Always remember to Save your page when you’re done.
And that’s it! You’ve successfully added multiple elements to your page using both the settings icon and the left-hand side menu.