In this tutorial, you’ll learn how to change and manage images within your project. Follow these simple steps to replace or update an image in your design.
Step 1: Create and Prepare Your Layout
Start by creating a column in your section.
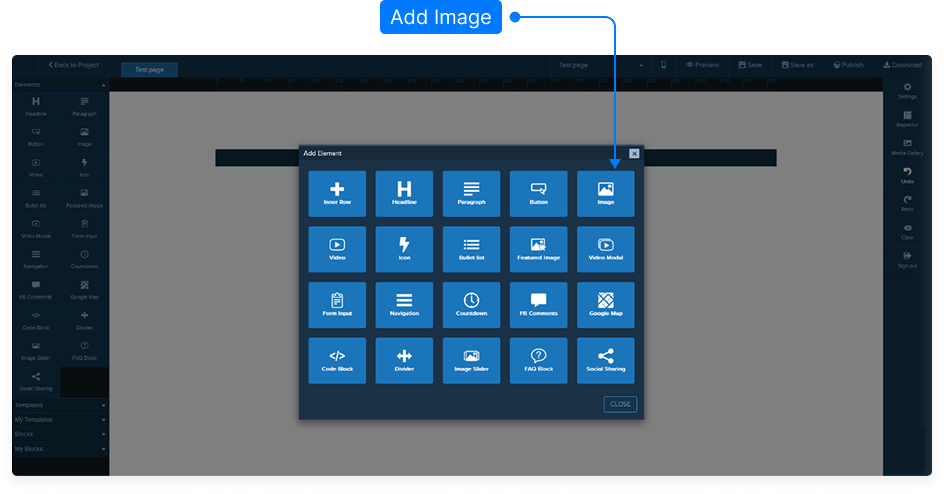
Add an Image Element to that column.
Step 2: Access the Image Editing Menu
Hover over the column that contains the image.
Click the Edit option from the green menu to open the image settings panel on the right-hand side.
Step 3: Browse and Select an Image
Click Browse Image to open the image selection options.
You can choose from the following sources:
Backgrounds: Preloaded background images from your account.
Integrated Image Libraries: External sources such as Unsplash.
Media Gallery: Images you’ve personally uploaded.
Step 4: Using Integrated Image Libraries
Select Unsplash from the available library options.
Type a keyword in the search bar to find relevant images.
Scroll down to load more results if needed.
Hover over your desired image and click Select.
Click OK to upload the image directly into your column.
Step 5: (Optional) Save to Your Media Gallery
If you’d like to reuse an image later, click the Add to Media Gallery button.
The image will appear under your chosen category (for example, “Miscellaneous Images”).
Step 6: Finalize and Save
Once you’ve selected and confirmed your image, it will automatically appear in your design column.
Click Save to store your changes.
And that’s it! You’ve successfully updated your image. Always remember to save your page after making changes.